|
I saw this super cute Mummy Jar on Pinterest when I was looking around for some Halloween crafting inspiration. I loved it so much I ended up making it, along with a 15 second YouTube How To (at the end)..
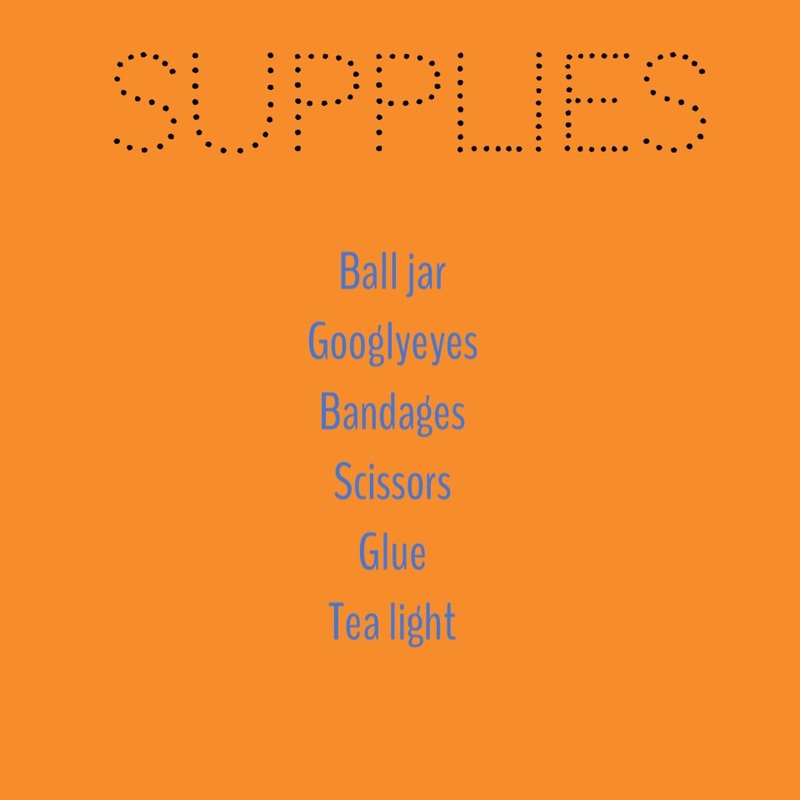
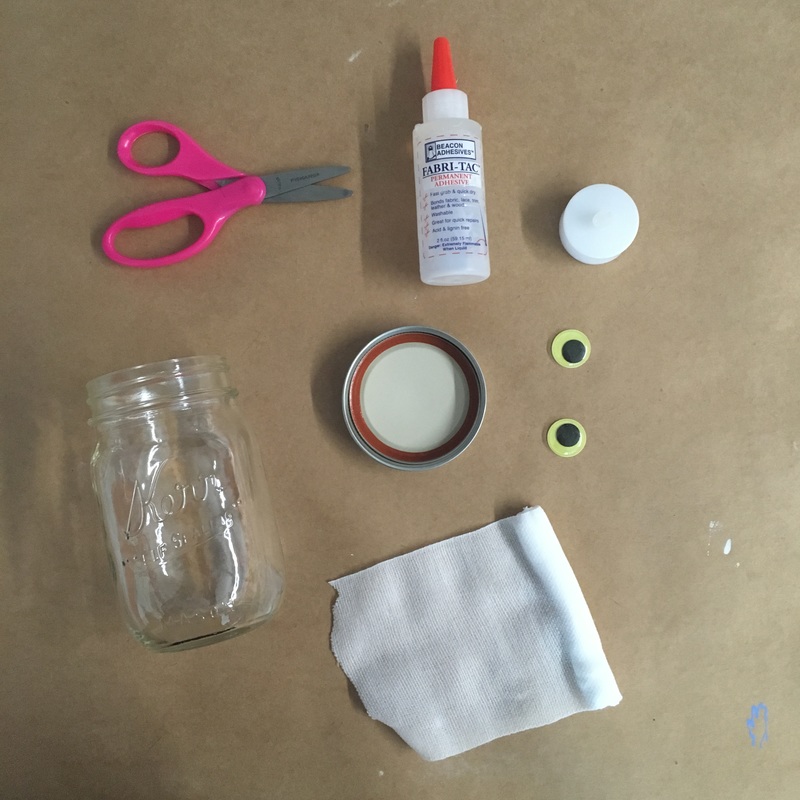
Start by collecting the necessary materials. See Above ^^
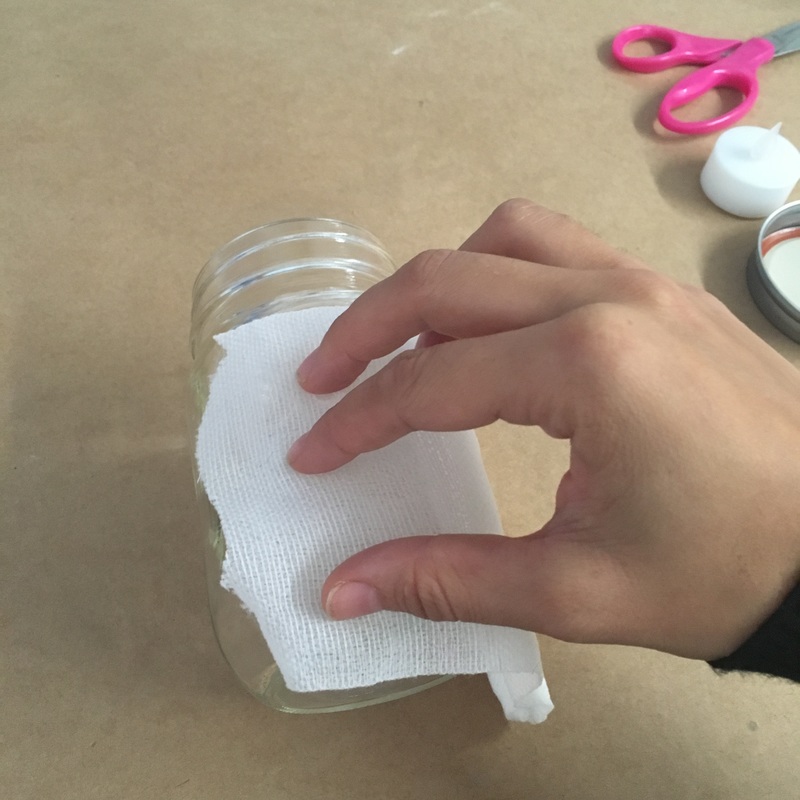
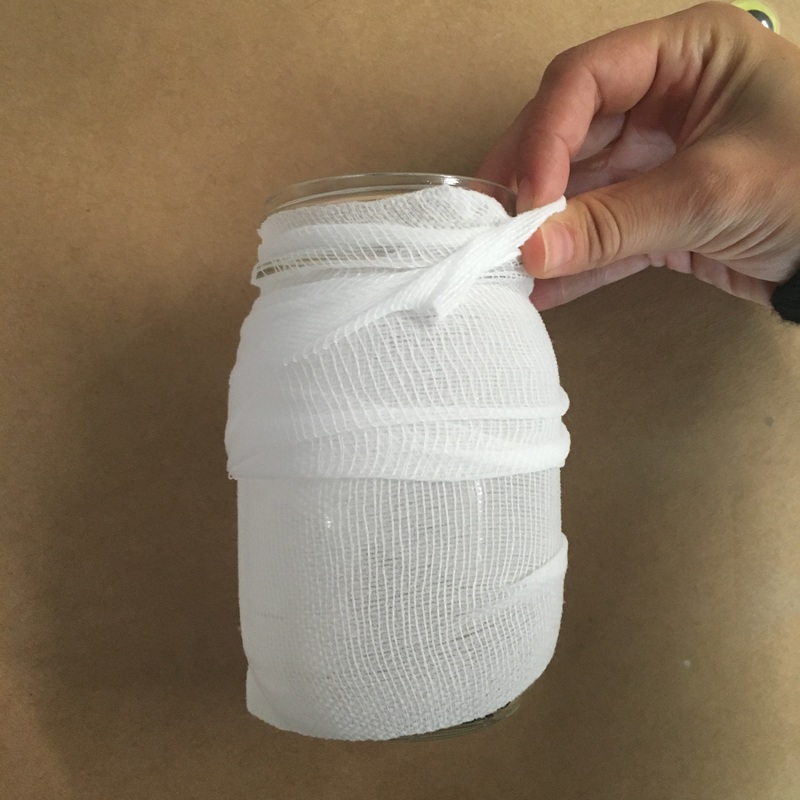
Then put a dot or two of glue on your jar to hold the first piece of bandages down. Then wrap the bandages around the jar as you like it. My bandages were stretchy and it was easy to stretch them tight to tuck the end into the folds of the bandages. You can also use shorter pieces, and tie them in knots the whole way down. Pick a style you like better or do a combination of both!
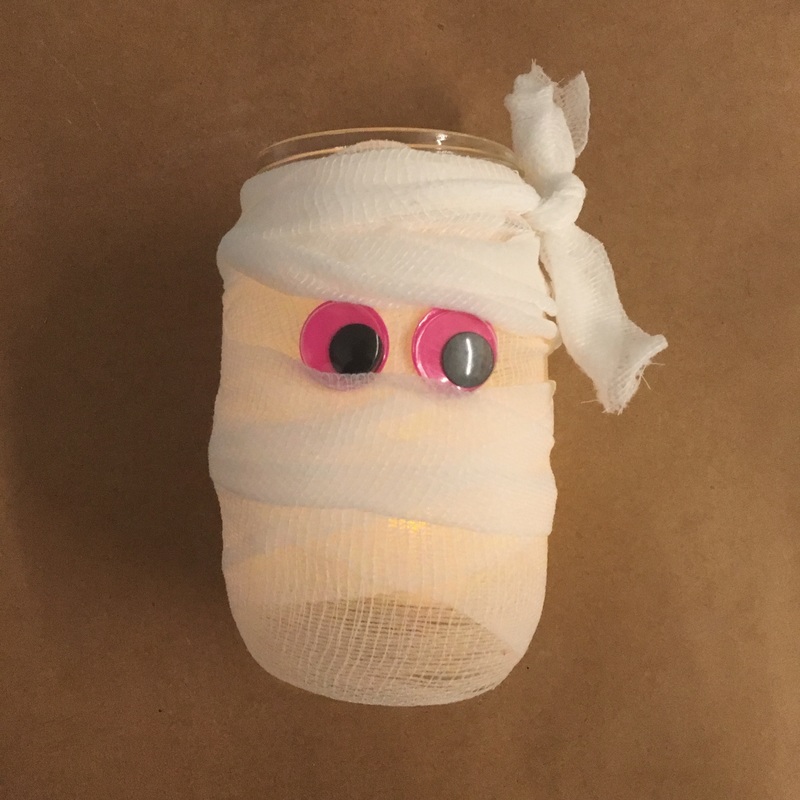
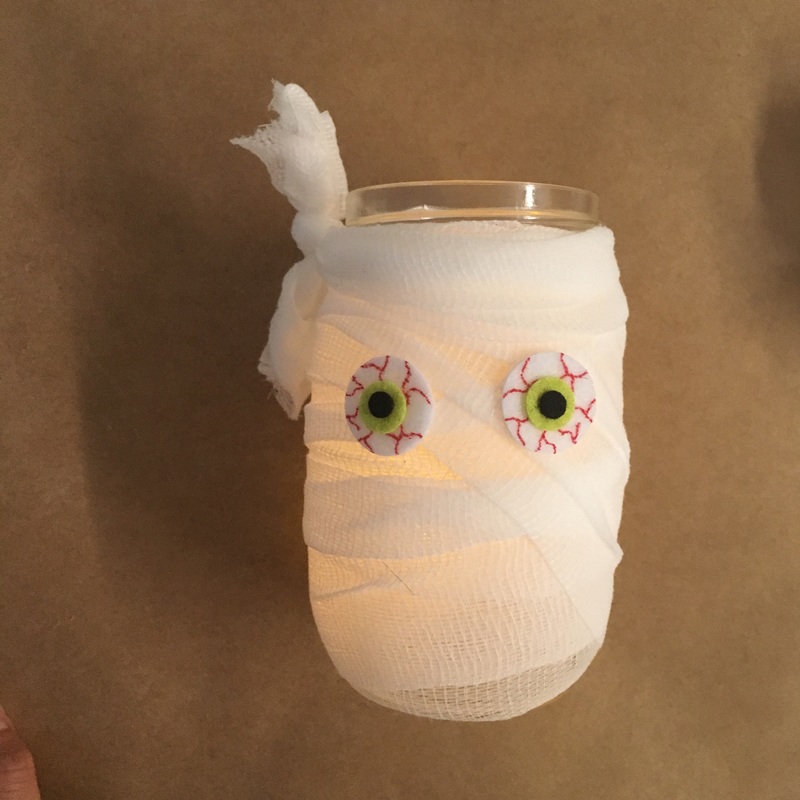
You will now use the glue for the googly-eyes! Pick your favorite kind...
Then put a batter operated tea light indie and you are done! SO EASYYYYY! Tell your friends about us :)
1 Comment
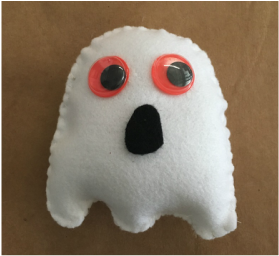
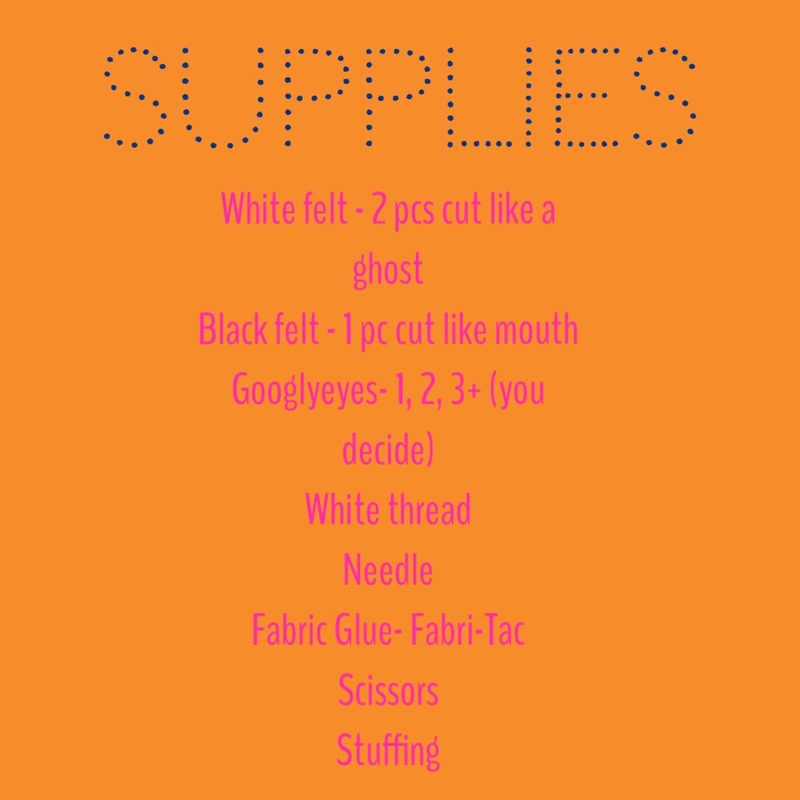
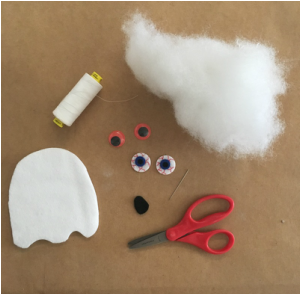
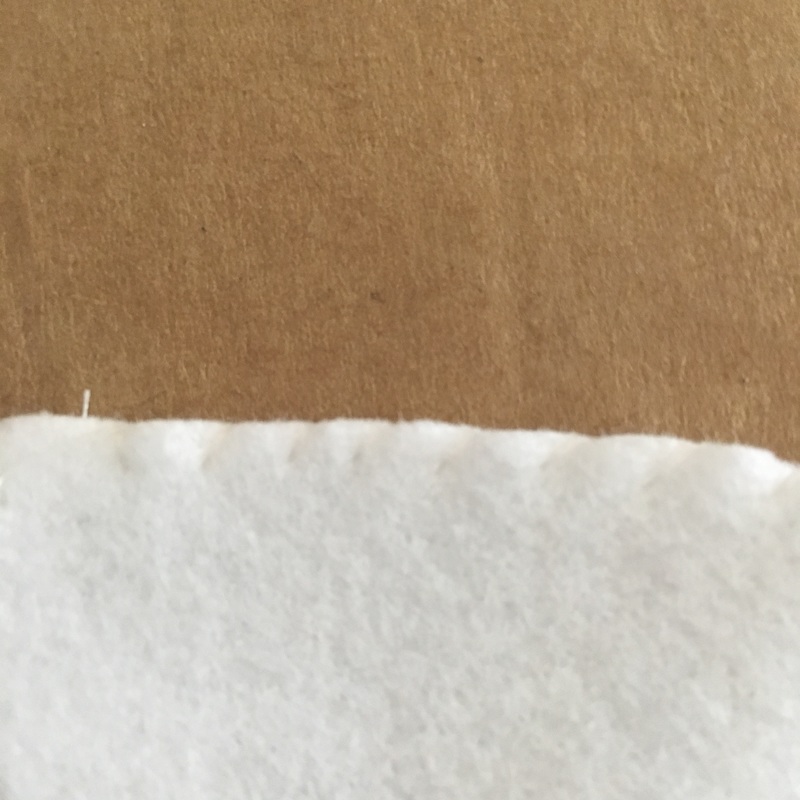
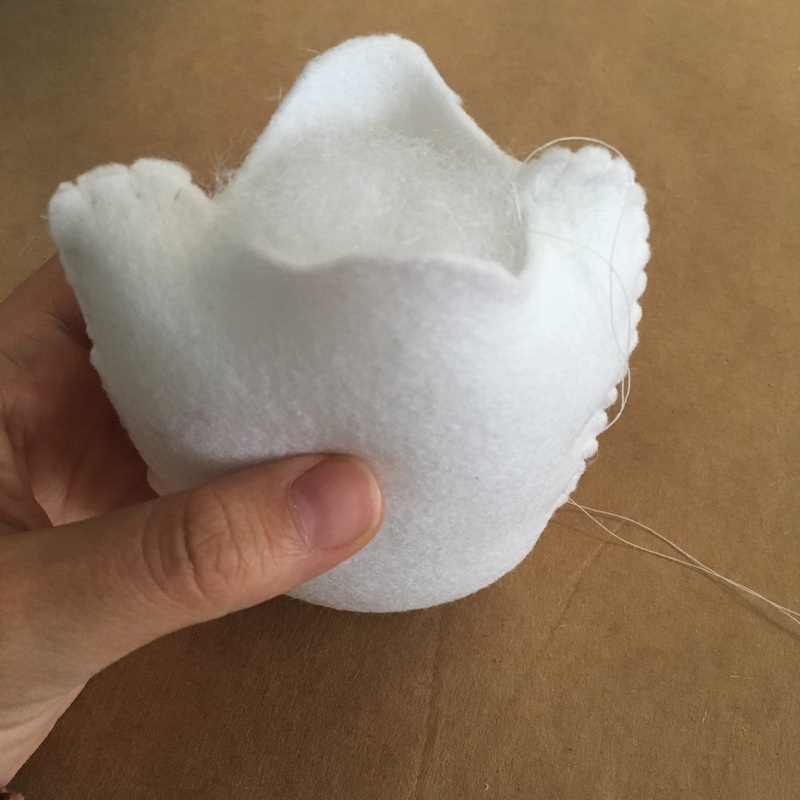
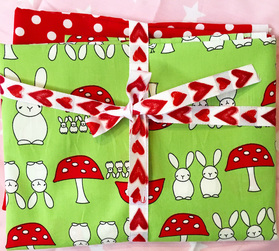
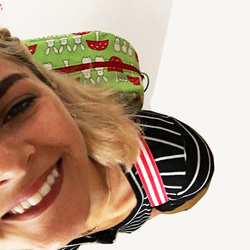
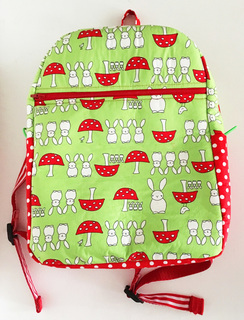
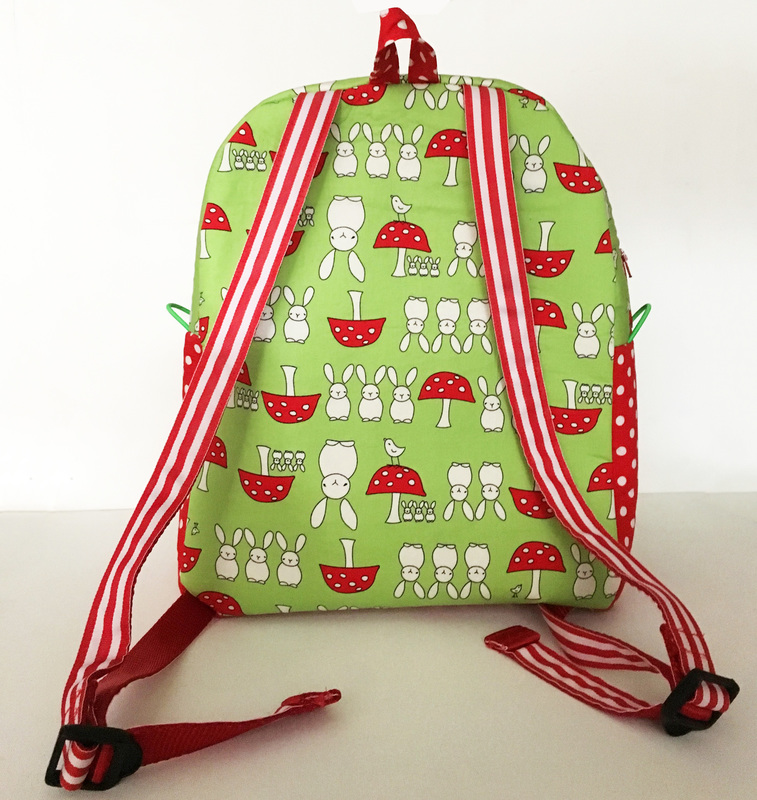
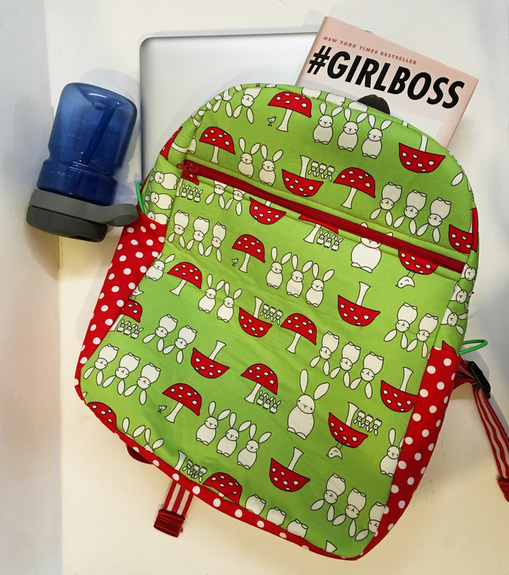
For most DIYers Halloween is one of our favorites, from costumes, geeky fun baked treats, to all the cute crafts we spend the whole month making. This weekend we had an Open House at the studio with some free sewing and pottery classes! It was so much fun!! For the new stitchers that came we made these cute Halloween inspired tiny stuffed ghosts. Scroll down for a 15 second how to video!! They are super easy to make and only a few steps. First you will need the following supplies (don't forget the glue): You can sew this with a machine or by hand. Start by threading your needle or machine. You will sew from the left bottom corner to the right bottom corner, leaving a small hole for stuffing. Use a whip stitch if hand sewing, and make sure to knot the thread at the start and finish. Now stuff the ghost until he/she looks nice and fluffy. Stitch closed your hole. Glue on the eyes and mouth; wait for glue to dry. Viola you are done already!! Maybe I was recently trolling through Instagram (okay I do this every morning) when I found this super cute fabric and haberdashery shop that is new to Insta.. @AlwaysKnittingAndSewing on Twitter and Instagram. They are based out of the UK and sell a variety of Quilting weight cottons and poly cottons, knitting supplies, sewing necessities and really great gift sets (HOLIDAY SEASON) for your crafting friends and family. The fabric they sent me is adorable!! You're going to flip out... Maybe you're thinking I should have waited for Spring but I'm a sucker for illustrated prints and any sort of polkadot combo. There was no waiting with this cutie. I was inspired to make a backpack with the little bunnies and mushrooms. I picked up some interfacing and fleece batting from B&J Fabrics, and some ribbon, webbing and a striped ribbon from Daytona Trim You can get these things from most fabric stores, but I love these two! .. I used Simplicity 1388 OS 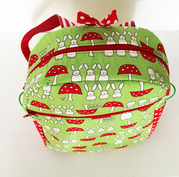 I would not suggest this project for beginners! If you are new to sewing I recommend starting with the messenger. It is fun to sew though. For mine I switched up some of the fabric selections, putting a bit of contrast on the bottom gusset. I thought the polka dots looked so cute with the mushrooms on the fabric. Knowing what I know now, when I make the backpack again I will add a divider on the inside for my computer. It's nice to have it in it's own section. I would also add a mesh pocket to the outside for my water bottle. I love extra pockets in my backpacks! I was pleasantly surprised with the size. I thought this would be a bit smaller from the images. The gussets are bigger than expected and I can fit quite a bit in it. It's been great for my back and forth to the studio- Computer, Book of the week #GIRLBOSS, Lunch and Water.. oh and all the misc things that accumulate when I'm not looking. ;)
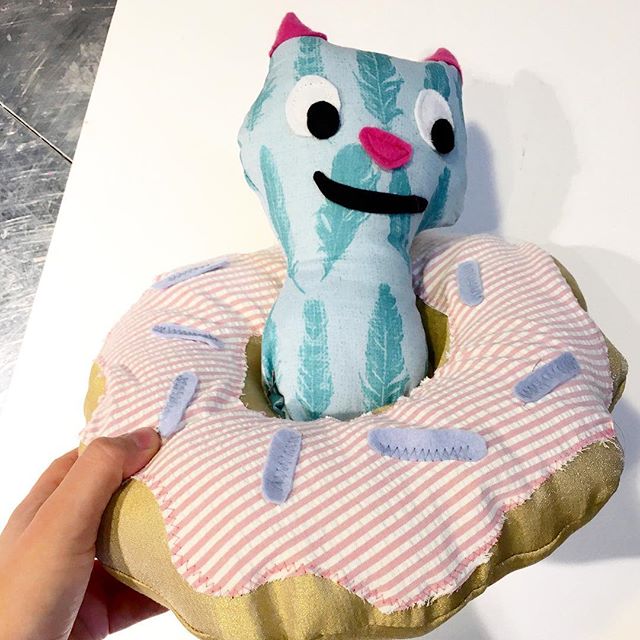
Supplies: about 1 yard of both lining and main fabric (leaves you with a tiny bit extra in case you make an extra pocket) 45" 2 yards webbing, 2 yards ribbon 2 gliders to match webbing size 1/4y elastic for loops 2 matching zippers 22" 1y interfacing medium weight, 1y fleece interfacing If you try this pattern and have questions just comment below- I will try to help. Say hello to the Cat in the Doughnut... Or would you prefer The Dog in the Cupcake (Spoiler alert: there are no puppies or cupcakes) There was a holiday for a certain private school this week and I had two lovely girls come in for a semi-private lesson.
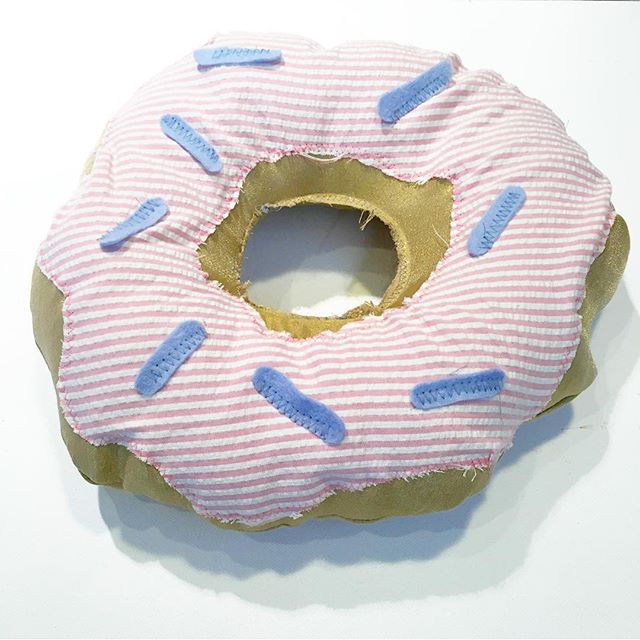
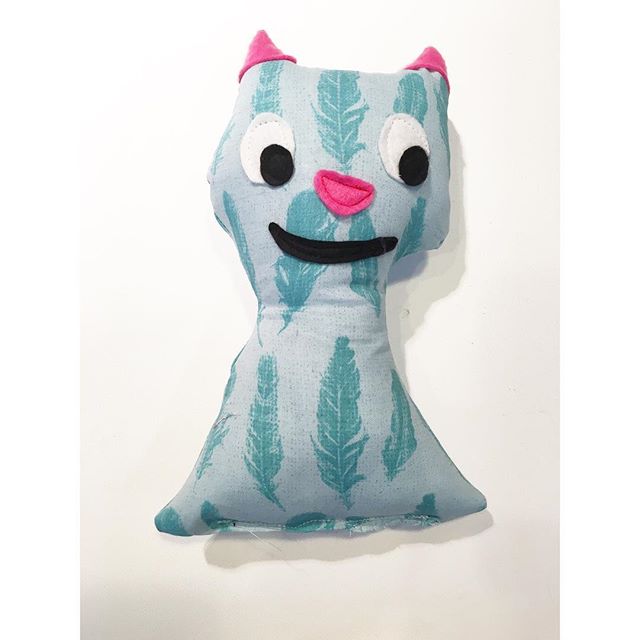
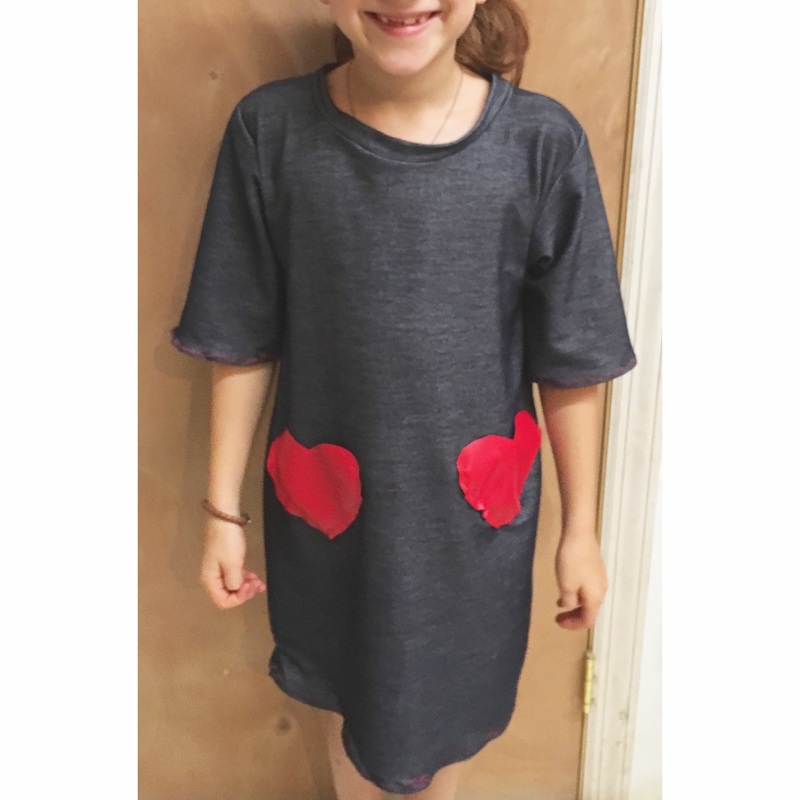
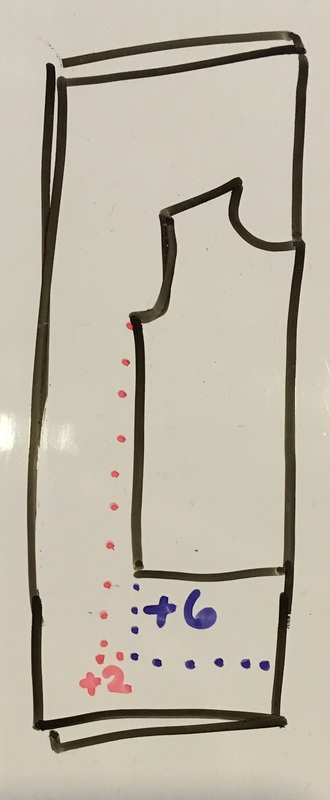
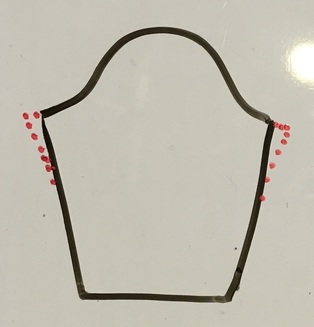
They had very specific projects in mind, so we got to work and made them come to life. I just think the their projects came out darling with all their lovely details they picked out. I never thought of sear-sucker for frosting but it works quite well. Would you say those purple felt sprinkles are lavender? I would definitely eat this doughnut!! Miss. Cat is adorable as well, although I don't have the urge to eat her! Her owner drew out a face that she saw for her cat, and we cut it out of felt, then stitched it up, and viola! The fall semester has gotten off to a great start. We have some younger girls on Tuesdays and a little older on Wednesdays. Both groups have been so great! We started the semester off with T-Shirt Dresses with Pleather patch pockets (totally vegan, but more importantly- SO CUTE). The girls all chose their own contrasting vegan leather and each made their pockets slightly different. One little cutie asked to make her pockets Heart Shaped with red leather. We recycled the pattern (The Charlie) used to make the T-shirts and sweatshirts from summer camp. To adapt for the shift dress shape we started by measuring out what length each girl wanted their dresses. Then added the difference (plus 1.5") to each pattern. On both the front and back patterns we added 2" to the width of the new hemline. THEN took this new width and drew a line connecting it to the armhole. (See Red line in drawing). We shortened the sleeves a little, and added a patch pocket. *Note: If you are also sewing with a pleather it may be a bit sticky, and won't go through the machine easy. We used a walking foot to help this issue. When using this pattern I found the shoulder curve on the sleeves to be a bit too short. When cutting add a little extra to each. See red lines below. If you would like any more info on the project please let me know. If you make one at home I would love to see your version!
|
Brooklyn SewcialBringing ideas, tips, and tutorials about sewing, DIY and modern crafting. Archives
February 2024
Categories |
 RSS Feed