Brooklyn Sewcial
  • Home
  • Classes
    • Kids After School
    • Adult Classes
    • Private Lessons
    • CAMP
  • Birthday Parties
    • Kids Parties
    • Adult Parties
  • Blog
  • Contact
  • Meet the Teachers
  • Products

Brooklyn Sewcial Passport Pouch

10/3/2017

2 Comments

 
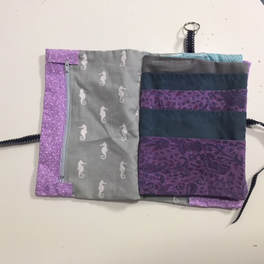
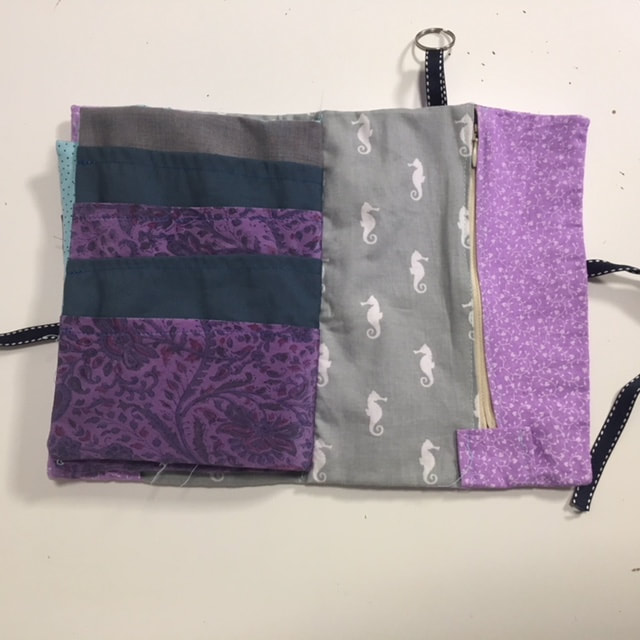
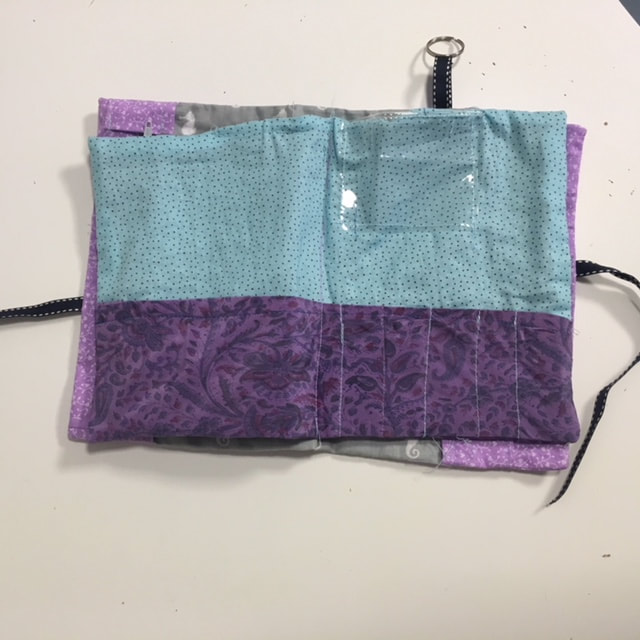
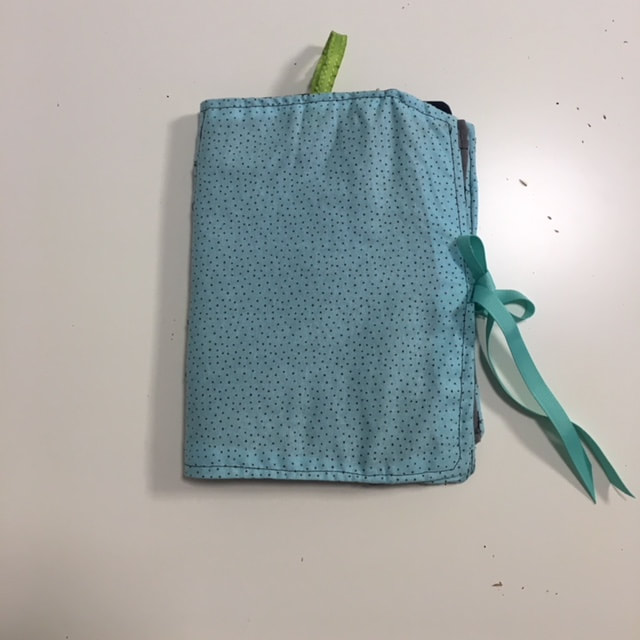
 Many of our students have family in other countries, and go back each summer to visit them. Inspired by their travel, this summer we dedicated a whole week of summer camp to travel gear. Ciara helped me create a travel pouch with lots of pockets for kids to hide their candy, passports, foreign currencies, post cards and pens. 
Picture
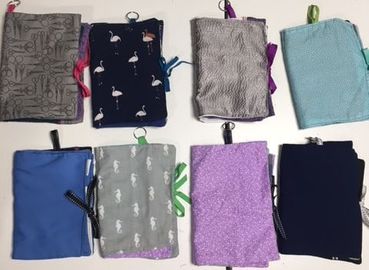
What you need:
1-6 choices of fabric (I used scraps of fabric for this)
2 8" zippers
24" of ribbon
1 keyring
Paper to make patterns (newspaper works well)

Start by cutting pattern pieces * CUT one pattern piece of each, When I mention how many to cut below I am talking about the fabric. Each piece below can be cut out of just a few fabrics or each piece can be different. I limited my students to 4 fabrics.
9"x13" - cut 1 * Outside fabric
2.5"x9" - Cut 2 *Zipper Side Panel
9"9.5" - Cut 1  *Zipper inside panel
8.5"x12.5" - Cut 2  *Inside layer, background pieces
4.75x12.5" - Cut 4 *Pockets
5.5x12.5" - Cut 1 *Inside pocket
* 1/2" seam allowances are included

If your fabric is thinner, cut interfacing for all your pieces and iron on before starting. 
Picture
1. Attach your zipper to opposite ends of the 9x9.5" piece. *the zippers are attached to the sides that measure 9" long. 
In this photo you can see our students zipper was shorter then the fabric and she added a fabric extension. .

2. Next attach your 2.25"x9" strips to the other side of the zipper. 

3. Tack both 11" ribbon to the right side of the outer fabric. One on each side at the middle of the 9". These should be facing inwards so when turn right side out they then turn outwards. 
 
4. Put these two finished pieces right sides together. Sew, leaving a 2" hole. Flip right side out and top stitch.
5. Let's make the pockets. Iron the top long side of each pocket down and stitch. (4 pieces, 4.75x12.5") 

6. Attach each pocket at the bottom one at a time to an inner layer (12.5x8.5"); Starting from the top pocket. There is no need to sew sides and center just yet. If you want to create other smaller pockets you can do so as you go. 

Picture
Picture
7. For the inside pencil/postcard sleeve start by ironing down one long side of the 5.5x12.5" strip. Sew this.

8. Attach this pocket to the inner fabric piece (8.5x12.5") by lining up the bottom edges. With a ruler and chalk mark and sew 1" lines on the right half. This will be for pens + pencils.

9. If you would like a clear vinyl pocket like ours you can attach that now.
10. With right sides together sew the two inside layers with pockets together, leaving a 2" hole. Turn right side out through the opening, Top stitch around the whole piece.

11. Placing the outside layer with zipper side up, lay the inside layer with post card/pencil case side up. Center the two pieces, mark your center line, and stitch together. 

If you would like to add a keyring you can add a 2" loop to the top of the outer layer. This is best done when attaching the other ribbon for the tie in Step 3.
Picture
Let me know if you need photos of the process to make this more clear. 
2 Comments

    Brooklyn Sewcial

    Bringing ideas, tips, and tutorials about sewing, DIY and modern crafting. 

    Archives

    December 2019
    October 2017
    May 2017
    April 2017
    June 2016
    March 2016
    February 2016
    January 2016
    October 2015
    August 2015
    July 2015

    Categories

    All

    RSS Feed

      Join Our Newsletter!!

    Subscribe to Newsletter

Location

Contact Us

What Our sewcialists Are Saying

"I can't believe I made all of this after only one week of sewing camp! And I've never even used a sewing machine before! I'm so sad that it is over😢 I really hope i can go again! It was my favorite camp ever!!!!!!" 
Ruby... 12 years old

"I was extremely impressed by Brooklyn Sewcial's adult sewing class. I arrived not knowing a thing about patterns or sewing machines and left with a fully functional (and super cute to boot!) tote bag made by yours truly. I was walked through following a pattern, cutting, pinning and sewing with easy to follow instructions. 

Alexa is a patient teacher and the atmosphere is fun and very laid back. All levels of experience should go check it out! Your future favorite tote (or headband, leggings, etc.) could be waiting for you to create it :)."
Lauren U. ... Adult Class

Subscribe to our mailing list

* indicates required
  • Home
  • Classes
    • Kids After School
    • Adult Classes
    • Private Lessons
    • CAMP
  • Birthday Parties
    • Kids Parties
    • Adult Parties
  • Blog
  • Contact
  • Meet the Teachers
  • Products