|
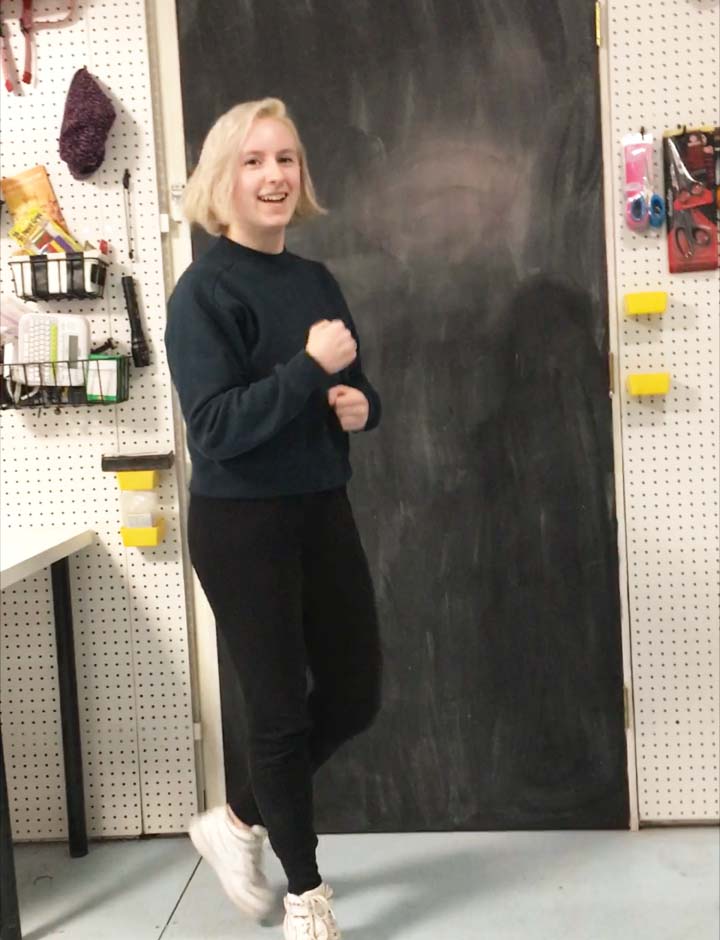
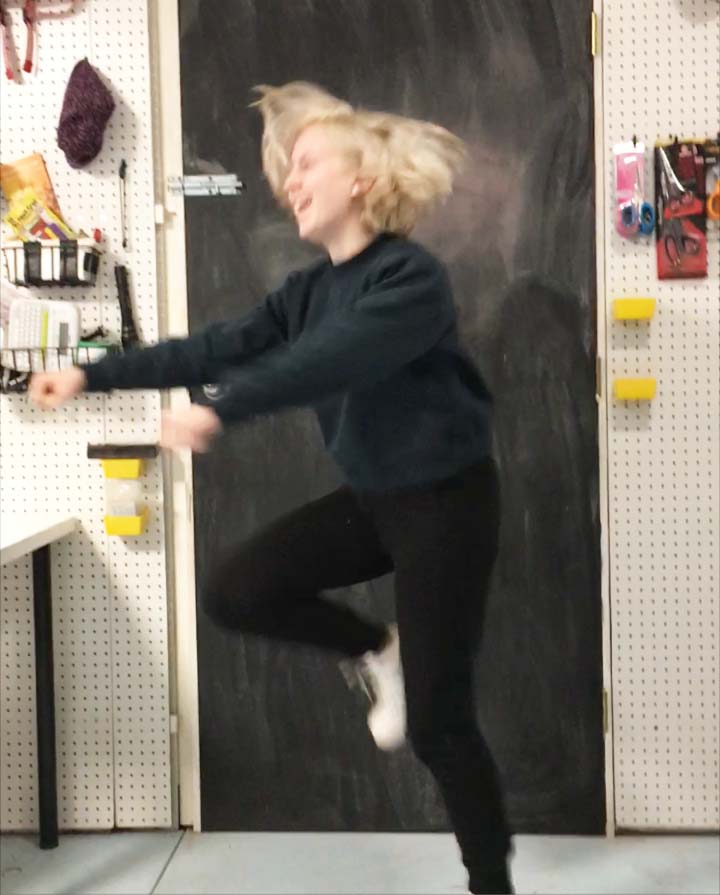
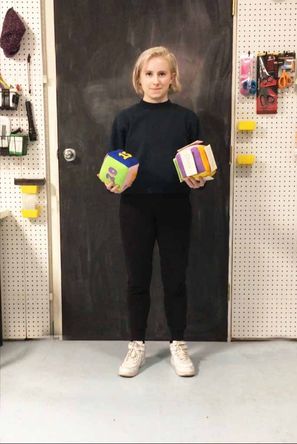
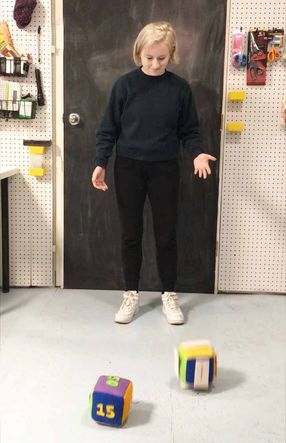
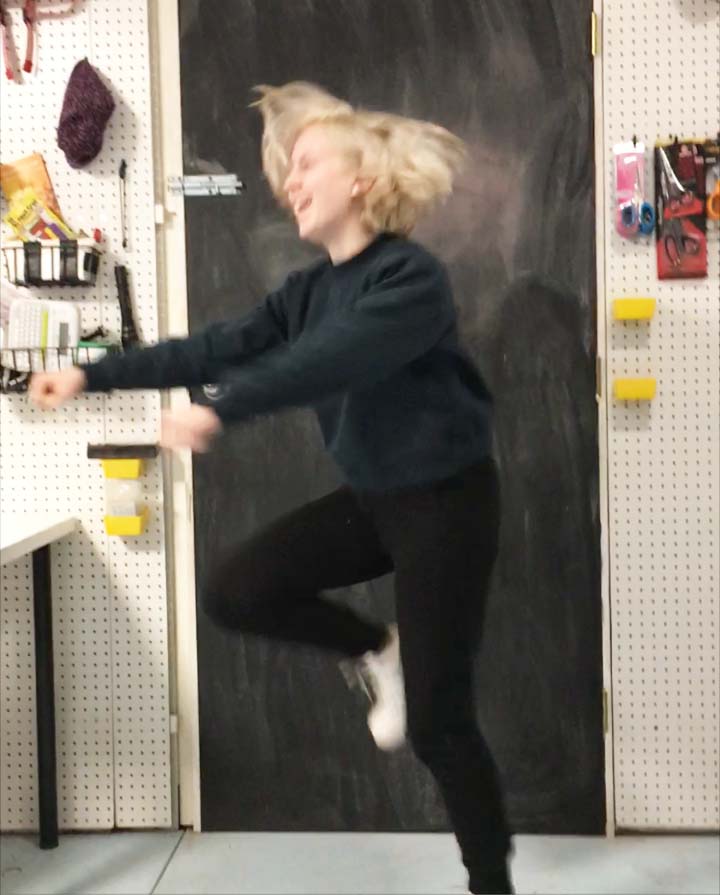
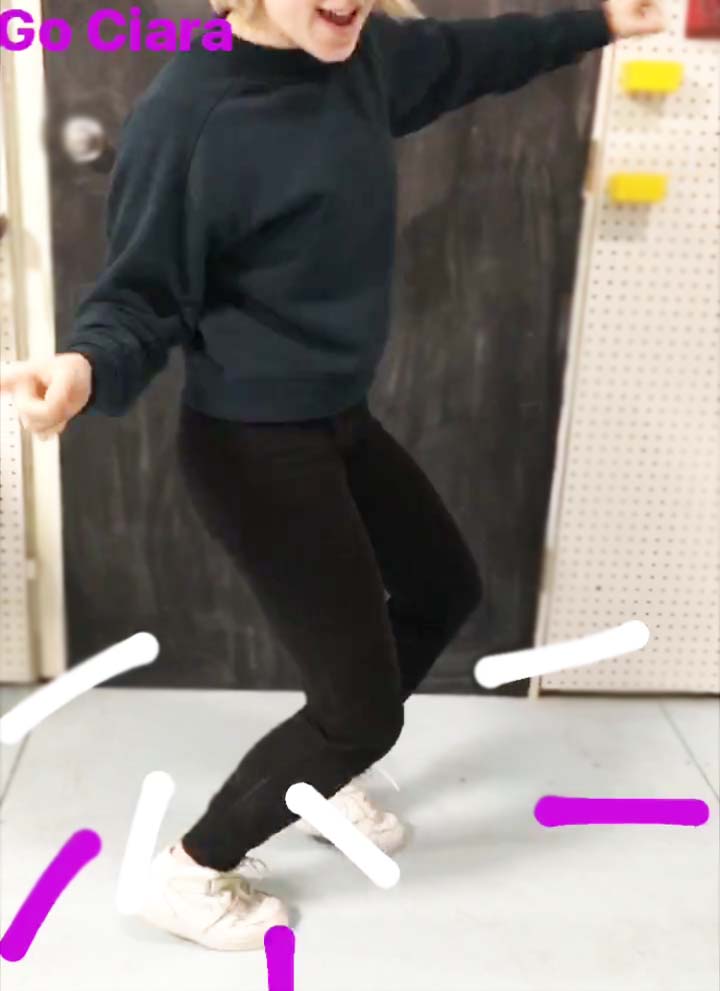
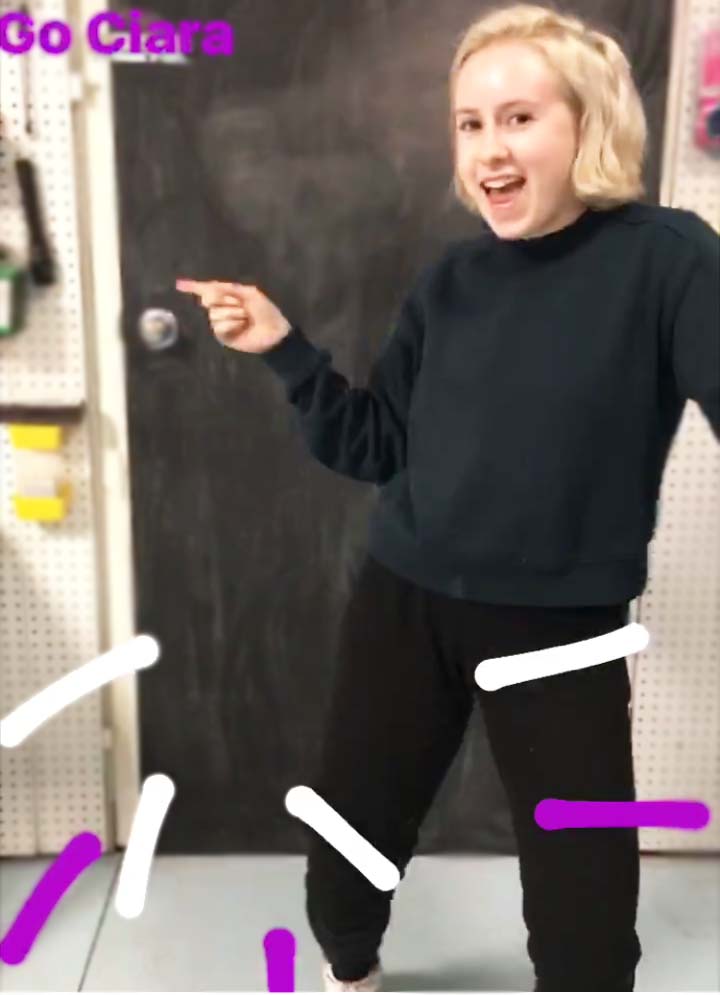
In our recent Brainstorm Session for the 2017 Summer Camps, my assistant came up with a game we're calling Dance Dice. The name might not be that exciting but the game is SO FUN! What is it? The short version: 2 dice. The first with 6 different sets of numbers (15, 20, 25, 30, 45, and 50 seconds), and the second with 6 different dances... You roll both dice, and dance the move and time they tell you. How to make them (sorry we were so excited we didn't take photos): What you need: 6 colors of felt Thread Velcro (Optional) Fabric Markers Scissors Plain cotton or muslin stuffing Step 1: Cut two 5"x5" pieces of each color felt Step 2: Cut the number sets you will sew on out of different colors of felt (15, 20, 25, 30, 45, and 50), stitch the numbers to the felt. Use one of each color felt, and make sure to use contrasting colors for the numbers. (You can glue them on instead) Step 3: 2 options here.. Cut 6 1" pieces of velcro, and stitch one loop (the soft side) piece to each of the remaining pieces of felt. Or you can stitch a plain piece of cotton fabric and write the dance moves directly on the cube. Step 4: Now sew your cubes together, leaving a hole to turn right side out. Step 5: Stuff the cubes. We used leftover scraps from other projects because I am trying to minimize my waste. When you do this, it helps to cut the scraps a bit smaller to make sure it's not lumpy. Stitch up the hole. Step 6: We made our dance moves removable so we can use the dice for other activities, but you can write your moves directly on the dice. For the removable moves: you need 12 pieces of muslin cut 4"x2", and 6 pieces of cardboard 3 3/8" x 1 3/8". Stitch the hook side of velro to the center of 6 pieces of muslin. Sew together 3 sides of a piece of muslin with velcro, to a piece without velcro (right sides together- velcro on inside). Now flip right side out, slide in your cardboard, and close up the hole. You can make this with any dance moves but our top picks were:
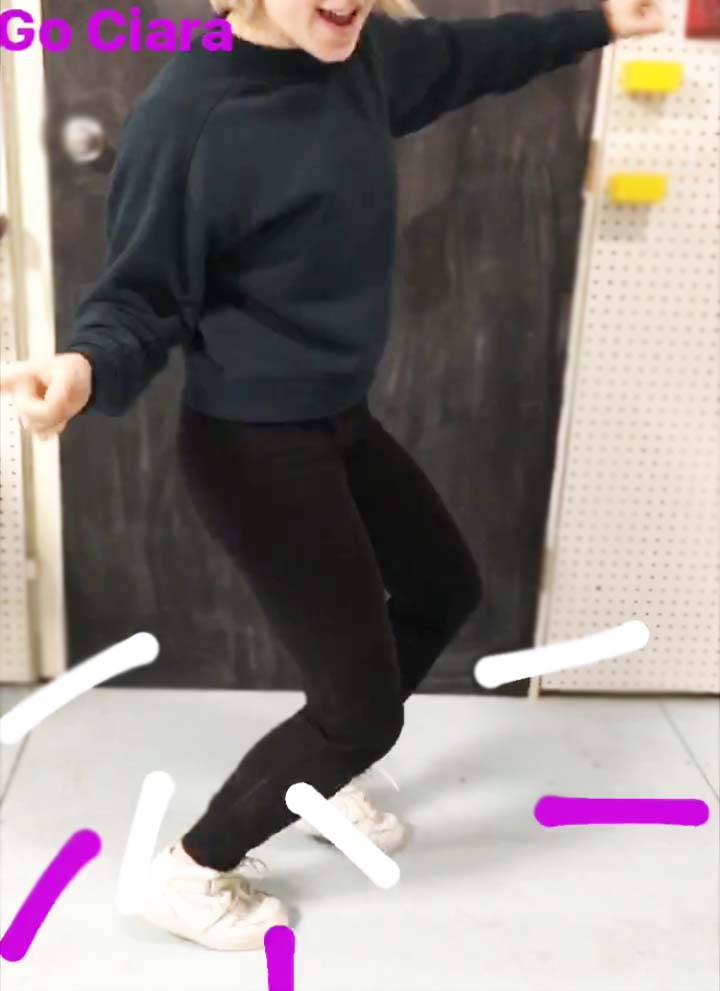
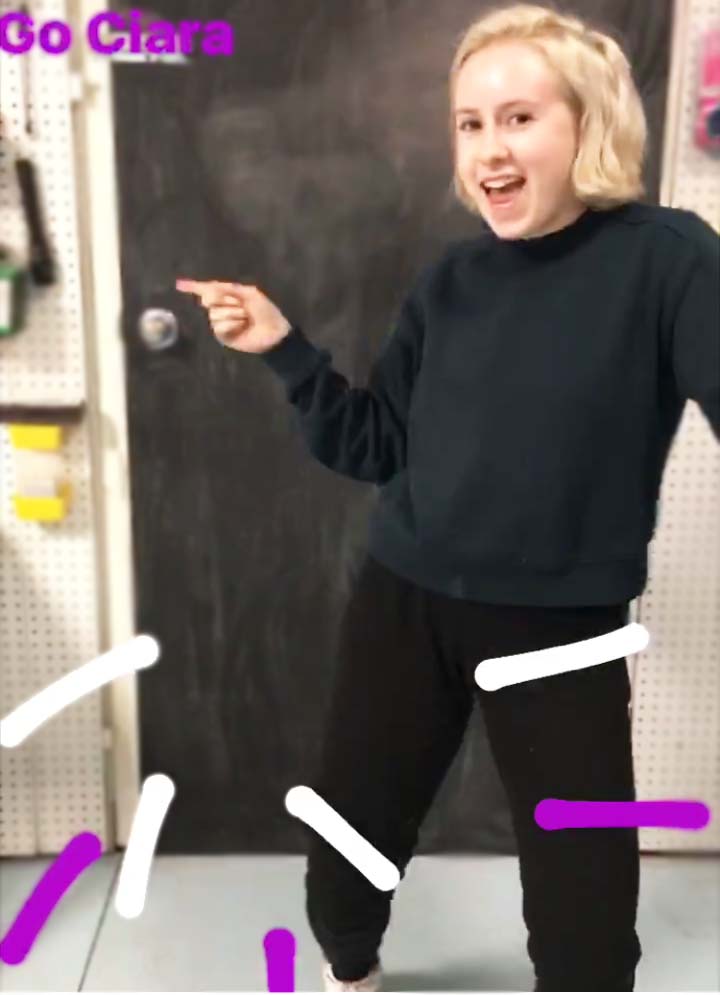
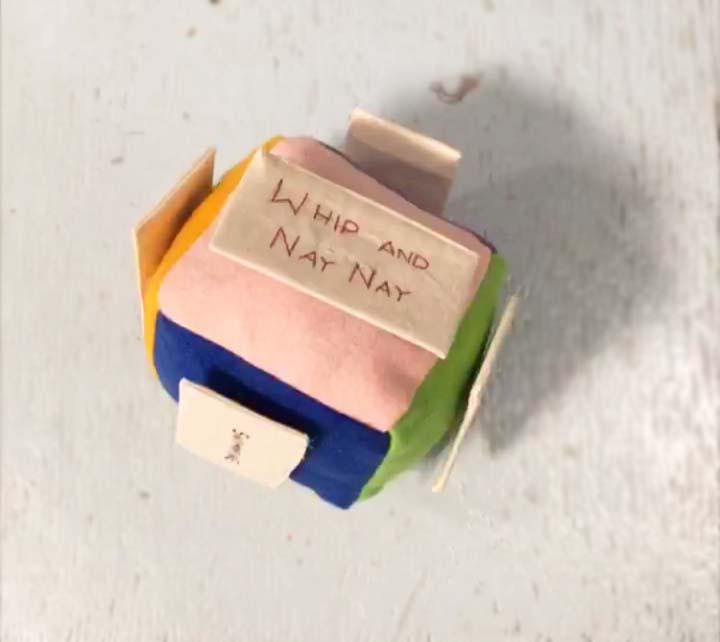
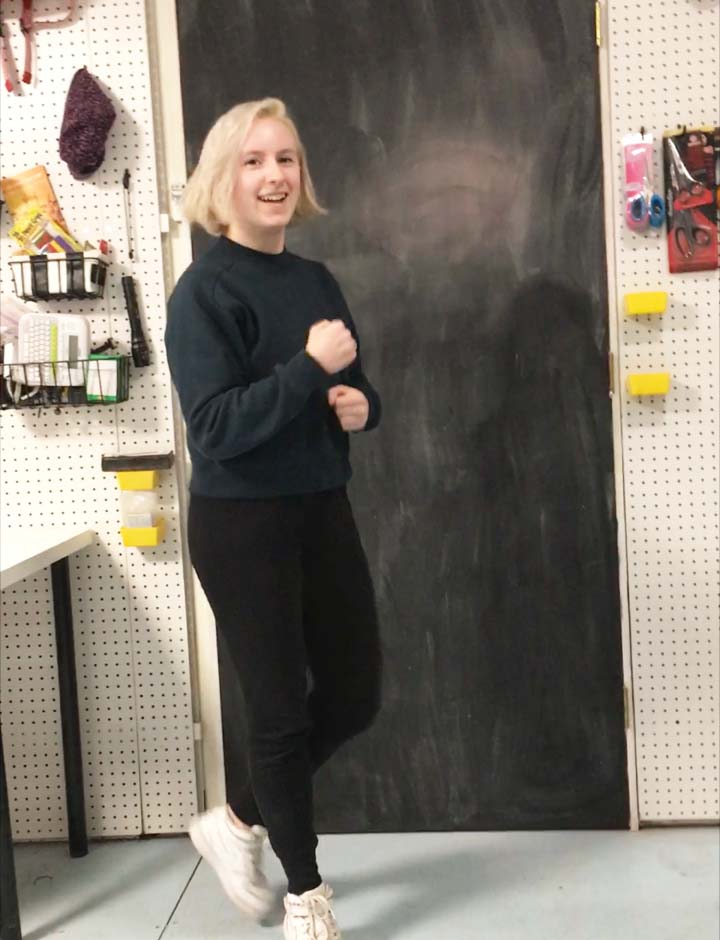
-The Running Man (pictured above- can be done the old school or new way!) -Disco -The Twist -Swimming -Whip and Nae Nae (We misspelled it on the Dice!!) -Freestyle Other contenders were: - The shopping cart - The mashed potato - The Dab - Macarena - Electric Slide - The Sprinkler
0 Comments
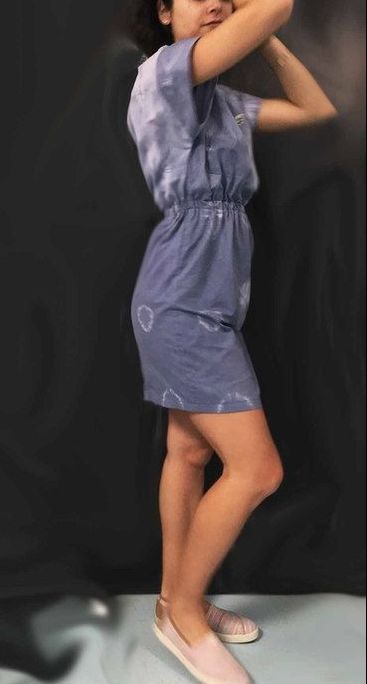
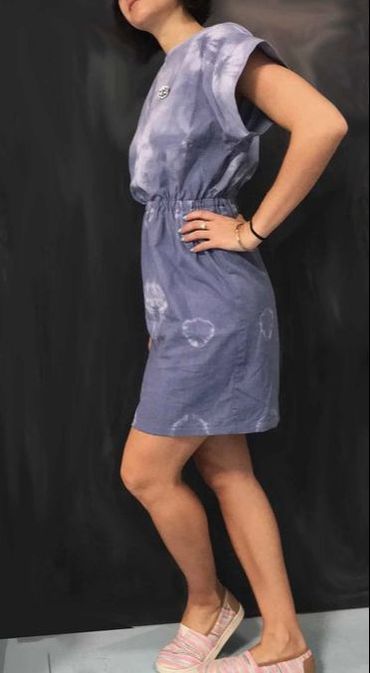
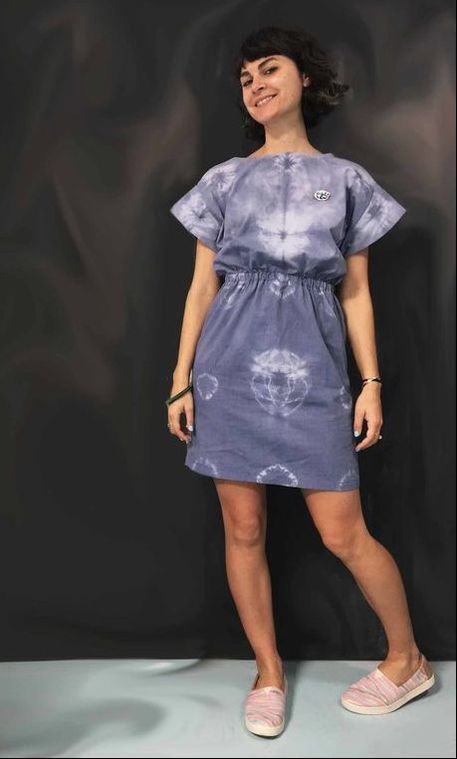
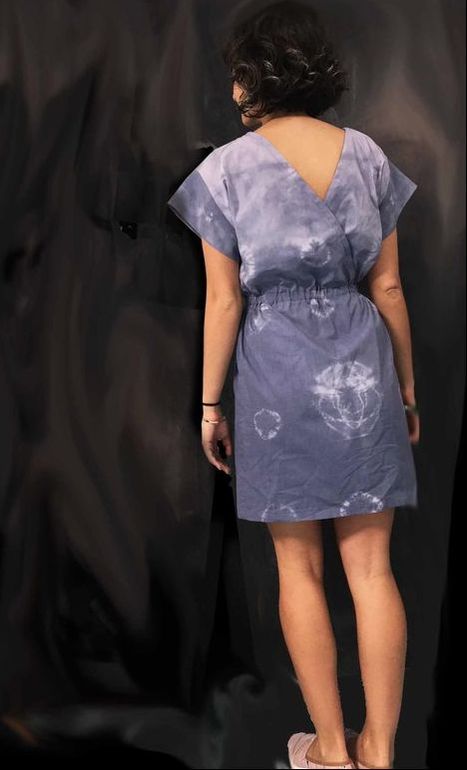
As you may already know, I am participating in the 2017- Sew My Style Challenge. This challenge is to bring awareness to the Slow Fashion movement, and to showcase to new sewists that sewing your own wardrobe is possible. The projects listed for 2017 are: January- Sew House 7 Toaster Sweater 2 February - Named Clothing Saunio Cardigan March- Megan Nielsen Virginia Leggings April- Sew House 7 Bridgetown Dress May- Califaye Collection Pocket Skirt June- Megan Nielsen Briar Tee and Sweater July- Cali Faye Collection Valley Blouse August- Megan Nielsen Darling Ranges Dress September- Named Clothing Yona Wrap Coat October- Cali Faye Hampshire Trouser November- By Hand London Anna Dress December- Named Clothing AW17 New Collection (TBC) The Bridgetown Backless was such a quick sew and has several different length variations, that I will definitely be making more then one! I wanted a dress that I had dyed for the summer so I started with a plain white cotton. I tried to find something that had a good drape, but my options were limited since I needed something that would take the dye. This dress works best with a fabric that will drape nicely like a rayon challis, silk charmeuse, rayon jersey or cotton jersey. I would love to make it again in a sand washed silk. I started prepping my fabric by binding it in a shibori style, and putting it in a piping hot Navy Blue Rit Dye bath. I soaked it for 30 minute, let it dry overnight, and washed it out in a washing machine. The colors came out a little dull- I think had I prewashed the fabric and put it into the dye bath wet, it may have taken the dye better. However, I did end up loving the faded look of the fabric. When sewing the dress my chest and hips were two different sizes. I copied the pattern for size 6 skirt, and size 2 bodice. To have them match up evenly, I curved the top 4" of the skirt from size 6 to 2. I find that this fabric doesn't have the best drape for this dress. The sleeves stick up a bit and the back doesn't drape as I've seen in other photos. For this version I will remove the sleeves, then remake it in a sand washed silk.
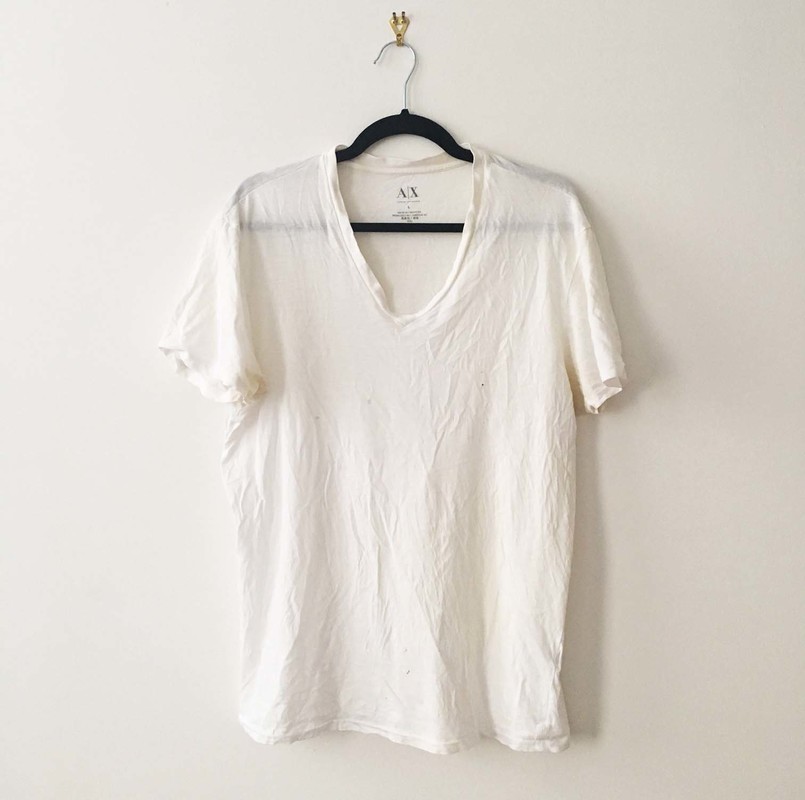
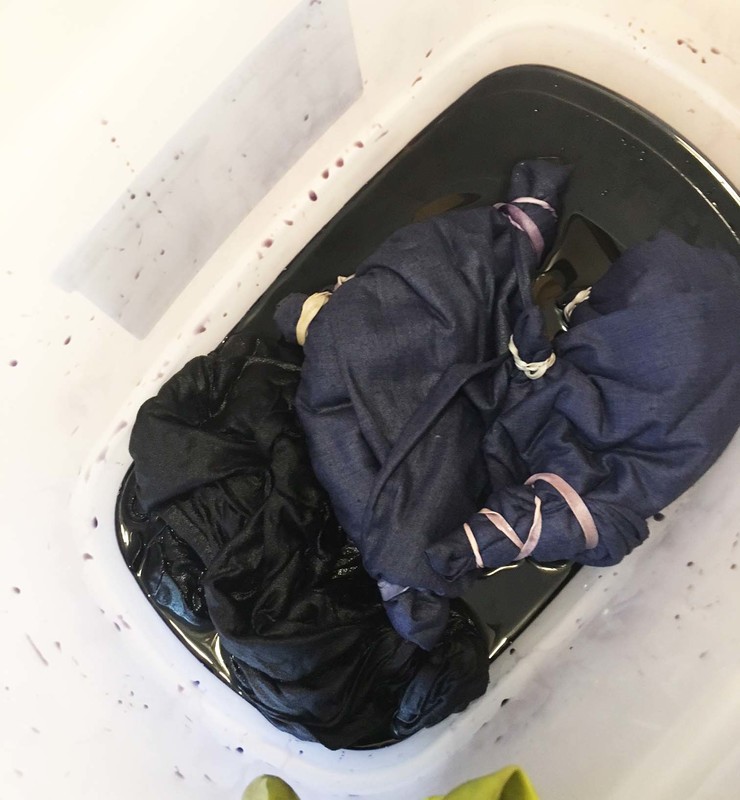
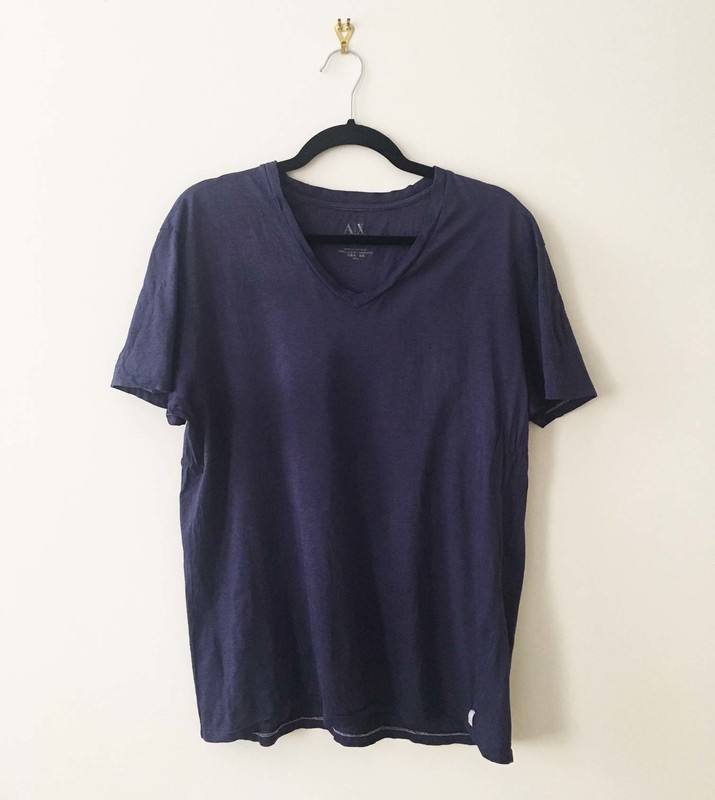
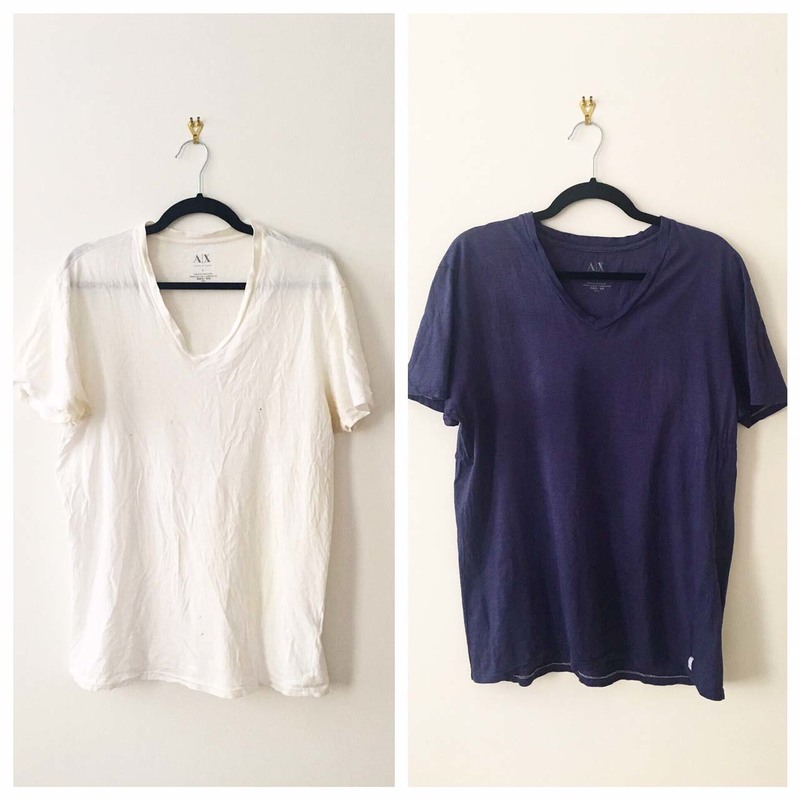
I will also lower the neck a half inch in the front, and add side pockets. Recently my boyfriend started wearing his nice t-shirts to work out, and they were getting super grubby. I was tempted to throw them away and buy new ones, but I'm trying not to add to the 10.5 Mil tons of clothing that is dumped into landfills each year. This is where my crafting nature came into play. I asked if I could tie-dye his shirts with some other fabric I was prepping and I received a hard NO for a response. He has a very simple and elegant style, and was definitely not going to be into wearing a tie-dyed shirt. So naturally while he was away, I grabbed a shirt and stuck it in the dye bath. I used Rit-Dye Liquid, Navy Blue; I picked a color I knew he would like. I used about half a bottle and filled up my mop bucket about 1/3 of the way, and added 1/4 cup of salt to help the dye take. I also made sure the water was boiling hot as I started. Pro Tip: Others have done the dye bath in a pot, keeping the water at a simmer. The hotter the water, the better the dye will take. After about 30 min I took the shirt out, and hung it to dry outside. (I hang things outside so I don't get droplets of dye water on my beautiful floors. I finished by washing the shirt in a cold water cycle. In the end, I turned a very skeptical, unwilling boyfriend into a believer! He now has a new favorite shirt that gets worn all the time. Stay tuned to see what I make with the other fabrics sharing this dye-bath!
|
Brooklyn SewcialBringing ideas, tips, and tutorials about sewing, DIY and modern crafting. Archives
February 2024
Categories |

 RSS Feed